

Curious about the benefits of homemade vapor rub and how to make it yourself? Look no further!
In this article, we will explore what exactly vapor rub is, the ingredients needed to create your own version at home, and the simple steps to follow for crafting your very own batch.
We’ll also discuss how to use homemade vapor rub effectively, potential side effects to be aware of, and whether it’s safe for children and babies.
Stay tuned for all the details you need to know!
.jpg_00.jpeg)
Vapor rub is a topical ointment commonly used to relieve chest congestion and other respiratory symptoms. It is one of the widely recognized commercial products like Vicks Vapor Rub and Mentholatum, designed to provide relief through the application on the skin, particularly on the chest and throat areas. This product is often found in households and is used as a decongestant in health care routines.
Homemade vapor rubs are gaining popularity as a natural alternative to commercial products, primarily because they consist of simple and natural ingredients. The main ingredients typically include essential oils, which provide the therapeutic benefits, carrier oils like coconut oil and olive oil for moisturizing, and beeswax for consistency and stability.
Essential oils such as peppermint oil and rosemary oil are crucial components in homemade vapor rubs due to their strong decongestant properties and therapeutic benefits.
Peppermint oil is known for its cooling effect that can help open up airways and ease breathing difficulties. Rosemary oil, on the other hand, is praised for its ability to reduce inflammation and alleviate sinus pressure.
When blended together in a vapor rub, these oils work synergistically to provide relief from congestion and promote respiratory health. It is important to note that essential oils are highly concentrated substances and should be used with caution. Following safety guidelines from reputable sources like Plant Therapy is essential to ensure proper usage and avoid any potential adverse reactions.
Carrier oils such as coconut oil and olive oil are used in homemade vapor rubs to dilute essential oils and provide a moisturizing base.
While essential oils are potent and concentrated, carrier oils play a crucial role in ensuring that these oils are well-diluted before application on the skin. This not only helps in preventing any skin irritations or sensitivities but also aids in better absorption of the oils.
Along with dilution, carrier oils bring their own set of benefits to the table. For instance, coconut oil is known for its antibacterial and antifungal properties, making it an excellent choice for soothing irritated skin.
Beeswax is added to homemade vapor rubs to give them the right consistency and to ensure that the rub stays on the skin longer.
Known for its natural properties, beeswax acts as a valuable ingredient in various skincare products due to its ability to lock in moisture and protect the skin. It forms a protective barrier that shields the skin from environmental pollutants while allowing it to breathe. The inclusion of beeswax in formulations enhances the texture and provides a smooth application experience. Its emollient properties make it an excellent choice for moisturizing products, deeply nourishing the skin without clogging pores.
.jpg_01.jpeg)
Optional ingredients like vitamin E oil or shea butter can be added to homemade vapor rubs to provide additional skin care benefits and enhance the overall formulation.
Vitamin E oil is rich in antioxidants, helping to nourish and protect the skin, while shea butter is known for its moisturizing and anti-inflammatory properties. Other optional ingredients that can be included in homemade vapor rubs for added benefits include essential oils like eucalyptus, peppermint, or tea tree oil, which can help in clearing nasal congestion and providing a soothing effect. Beeswax can be used to create a thicker consistency, making the rub easier to apply and enhancing its staying power on the skin.
Making homemade vapor rub is a straightforward DIY project that requires a simple recipe and a few key ingredients like essential oils, carrier oils, and beeswax. By following a few basic steps, you can create a natural and effective vapor rub at home.
The first step in making homemade vapor rub is to gather all the necessary ingredients, including your chosen essential oils, carrier oils, and beeswax.
Quality ingredients are crucial for ensuring the effectiveness and safety of your DIY vapor rub. When sourcing essential oils, look for pure, therapeutic-grade options from reputable brands like doTERRA or Young Living. Carrier oils like coconut oil or olive oil can be easily found at health food stores such as Whole Foods or online retailers like Amazon. Beeswax, known for its skin-nourishing properties, is often available at specialty shops like Mountain Rose Herbs or local beekeeping associations.
Melt the beeswax using a double boiler to ensure it liquefies evenly without burning.
When melting beeswax, it’s important to monitor the temperature closely to avoid overheating. Keep the water in the double boiler simmering gently to provide indirect heat. Stir the beeswax occasionally with a wooden spoon to promote even melting.
Adding a thermometer can help you maintain the ideal temperature range of around 145-150 degrees Fahrenheit. This gradual process ensures that the beeswax melts smoothly and maintains its beneficial properties. By following these steps, you can safely melt beeswax for various crafting or cosmetic purposes.
Once the beeswax is melted, add your chosen carrier oils and essential oils to the mixture, stirring thoroughly to blend them well.
Proper blending of carrier oils and essential oils is crucial in creating an effective vapor rub. The ratios of each oil type play a significant role in determining the therapeutic properties of the final product. For carrier oils, such as sweet almond oil or coconut oil, they serve as the base, providing moisture and helping to dilute the potent essential oils.
On the other hand, essential oils, like peppermint or eucalyptus, bring their unique benefits to the mix. Peppermint oil offers a cooling effect, while eucalyptus oil provides decongestant properties, ideal for respiratory relief.
.jpg_10.jpeg)
Carefully pour the blended mixture into a clean, airtight container for storage.
When choosing the right container, ensure it is made of a material that is suitable for the type of mixture you are storing. Glass or food-grade plastic containers are often good options. Make sure the container has a tight seal to prevent any leaks or spills.
To label the container properly, use a permanent marker to write the contents and date of preparation. This will help you easily identify the mixture and track its freshness.
Remember to store the container in a cool, dry place away from direct sunlight to maintain the quality of the mixture for longer periods of time.
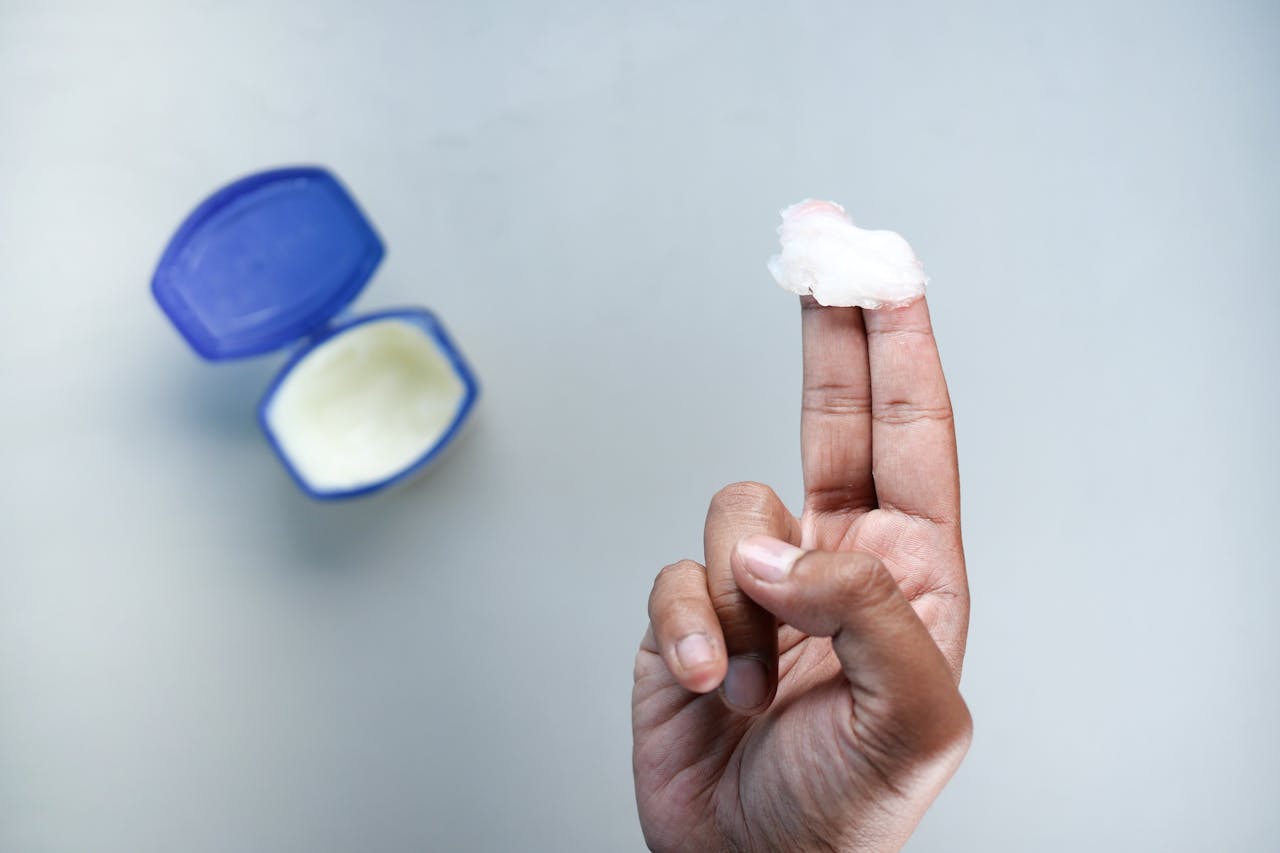
Allow the mixture to cool and solidify at room temperature before using it.
During the cooling process, it is important to periodically check the consistency of the vapor rub to ensure it solidifies properly. A simple way to do this is by gently pressing on the surface with a clean finger to see if it feels firm and stable. If the rub is still too soft, you can continue the cooling process for a bit longer.
If you find that the mixture is taking too long to solidify at room temperature, you can consider placing it in the refrigerator for a quicker setting. Remember not to leave it in the fridge for too long, as you don’t want it to harden too much.
Using homemade vapor rub is simple and can be highly effective in relieving chest congestion and providing decongestant benefits, while also contributing to skin care.
Apply the homemade vapor rub generously on the chest and throat areas to alleviate congestion and breathe easier.
Regarding the application process of homemade vapor rub, it is a simple yet effective method that can be done in the comfort of your own home. The best times to use it are usually before bedtime or in the morning to start your day feeling refreshed.
The soothing blend of essential oils and natural ingredients in the vapor rub helps in relieving symptoms associated with chest congestion, such as coughing and difficulty breathing. The warming sensation also provides comfort and helps clear nasal passages, making it easier to breathe. Using it regularly can aid in loosening mucus and promoting better airflow.
Rubbing the vapor rub on the soles of their feet is another effective method, especially for children, as it aids in absorption and provides decongestant benefits.
Applying vapor rub to the feet is particularly beneficial for children due to the skin on the soles having larger pores, allowing for quicker absorption of the therapeutic ingredients. This method is also ideal for children who may be sensitive to strong smells, as the feet are farther from the nose, reducing the intensity of the aroma. To maximize the effectiveness, make sure to gently massage the soles before and after applying the vapor rub, as this can enhance circulation and promote better absorption of the decongestant properties.
.jpg_11.jpeg)
Inhaling steam infused with homemade vapor rub can provide immediate relief from congestion and serve as a powerful decongestant.
Steam inhalation works by helping to loosen mucus in the nasal passages, throat, and lungs, making it easier to breathe and expel phlegm.
To prepare steam inhalation with homemade vapor rub, simply add a spoonful of the rub into a bowl of hot water. Lean over the bowl, cover your head with a towel, and inhale the soothing vapors for about 10-15 minutes.
This natural remedy offers numerous benefits for respiratory health, such as reducing inflammation, easing breathing difficulties, and providing relief from sinus congestion.
Although homemade vapor rubs are generally safe, there are potential side effects to be aware of, such as allergic reactions, skin irritation, and risks associated with accidental ingestion.
Some individuals may experience allergic reactions to certain essential oils used in homemade vapor rubs.
These allergic reactions can manifest in various ways, including skin irritation, redness, itching, or even respiratory issues such as difficulty breathing or coughing. To determine if you are sensitive to a specific essential oil, it is advised to conduct a patch test before widespread use. Simply dilute the oil and apply a small amount to a patch of skin, then wait 24 hours to see if any reaction occurs. When using essential oils in vapor rubs or other applications, it is important to:
Remember, essential oils are potent substances and should be used with caution.
Skin irritation can occur if the vapor rub is not properly diluted or if the user has sensitive skin.
For those with sensitive skin, it’s crucial to be extra cautious when using essential oils in any form.
Diluting essential oils properly before applying them to the skin is essential to prevent irritation. Choosing a suitable carrier oil can also make a significant difference. Some gentle carrier oils like coconut oil, almond oil, or jojoba oil are often well-tolerated by sensitive skin. It’s recommended to do a patch test before wide-spread application to ensure no adverse reactions occur.
Ingestion of homemade vapor rub can be dangerous, especially for children, and should be avoided at all costs.
The risks of accidental ingestion of vapor rub include potential poisoning, stomach irritation, respiratory issues, and even neurological symptoms. It is crucial to keep these products out of reach and sight of children to prevent any mishaps. To ensure safety, make sure that lids are tightly secured, and consider using child-resistant packaging. It is important to educate children about the dangers of ingesting such products. Storing vapor rub in high cabinets or locked containers can greatly reduce the chances of accidental ingestion.
The shelf life of homemade vapor rub largely depends on the freshness of the ingredients used and proper storage conditions.
To extend the shelf life of your homemade vapor rub, ensure that you store it in a cool, dark place away from direct sunlight and moisture which can accelerate the spoilage process.
Fresh ingredients play a crucial role in determining the longevity of the vapor rub, so always opt for high-quality essential oils and natural additives without any signs of contamination.
Signs of spoilage to watch out for include changes in color, texture, or smell of the rub. If you notice any such alterations, it’s best to discard the product to avoid any potential adverse effects.
Homemade vapor rub can be safe for children and babies when properly diluted and using child-safe essential oils.
When using essential oils on children, it’s crucial to choose oils that are gentle and safe for their delicate skin. Some recommended child-friendly options include lavender, chamomile, and tea tree oil.
Proper dilution ratios are essential to ensure that the vapor rub is gentle yet effective. A common guideline is to use 1-2 drops of essential oil per tablespoon of carrier oil, such as coconut or olive oil.
When applying vapor rub on babies, it’s best to consult with a healthcare provider first to ensure that the chosen oils and dilution ratios are suitable for their age and skin sensitivity.
The ingredients needed to make Homemade Vapor Rub are 1/2 cup of coconut oil, 1/4 cup of beeswax, 12 drops of peppermint essential oil, 8 drops of eucalyptus essential oil, and 6 drops of lavender essential oil.
Yes, you can use other essential oils such as tea tree, rosemary, or thyme for their congestion-relieving and respiratory benefits.
To make Homemade Vapor Rub, melt the coconut oil and beeswax in a double boiler. Once melted, remove from heat and stir in the essential oils. Pour mixture into a jar or container and let it cool and solidify before use.
Yes, you can substitute beeswax with almond oil or olive oil for a vegan version of Homemade Vapor Rub.
Homemade Vapor Rub can be stored for up to 6 months in a cool, dry place. If the mixture starts to separate or smell rancid, it is best to discard and make a fresh batch.
It is recommended to consult with a pediatrician before using Homemade Vapor Rub on children, especially those under 2 years of age. For children over the age of 2, it is best to dilute the essential oils and use a smaller amount on their chest or back.